DIY- Generate images using the Stable Diffusion AI model locally on your PC 🤯
just make sure you have a above-average GPU

You might have heard about the recent boom in AI-generated art with the release of DALL-E-2 and Midjourney. It is absolutely mind-blowing how these AI models could creatively generate realistic images within seconds. You can take a look at some of them here: DALL-E-2 gallery and Midjourney gallery
But these models are closed source and behind a paywall(very limited free use), I literally had to wait for 1 month to get access to DALL-E-2 limited to about 15-ish prompts per month on free usage.
stability just released an open-source alternative version of the technology behind DALL-E-2 and Midjourney for the public called Stable Diffusion. The demo and source code got released in hugging face.
The best part is that it can run on a local machine with above-average Nvidia GPU (VRAM under 8GB) capacity and also on M1 & M2 Macbooks!
This is huuuuuge because stable diffusion seems more robust and dynamic than the other AI models out there. It can even interpolate and dream between two different text prompts. All power to the lovely open source community making this possible ♥
⚠️ This blog will walk through the steps on making stable diffusion work on a windows 10 machine
Pre-requisites (for windows 10)
Hardware requirements
- Free disk space - minimum 10GB
- RAM - 16GB for faster installation (should work on 8GB machines too)
- Nvidia GPU with CUDA cores - minimum 6GB
I'm using my gaming PC which has 16GB of of RAM and Nvidia RTX 2070 Super with 8GB VRAM
Software requirements
- Download and Install Git, this should be straightforward
- Download and Install anaconda dist
- After installation, ensure you have git bash installed and check conda installation by running
conda --versionin the command line.- if conda is not found, then add conda
PATHvariable in your environment by following this tutorial
- if conda is not found, then add conda
- Download the model checkpoint file (⚠ it's about 4GB, you will need to create an account)
- Download and unzip the stable diffusion model loader and dream script from here
Setting up conda
- Open up git bash
- You'd need to setup conda shell by running
conda init bash - reopen git bash
Loading the helper models & packages for stable diffusion dream
- Open git bash
- create conda env by running in command line
conda env create -f environment.yaml - activate conda env
conda activate ldm - At this point, your git bash should look like this (notice ldm in the front)
(ldm) user@user-name MINGW64 ~/stable-diffusion-main This process should install all the required packages, this might take a while
load the models, this might also take a while, if you aren't running this on an SSD then go grab a coffee ☕ and wait for the
successmessage.python scripts/preload_models.py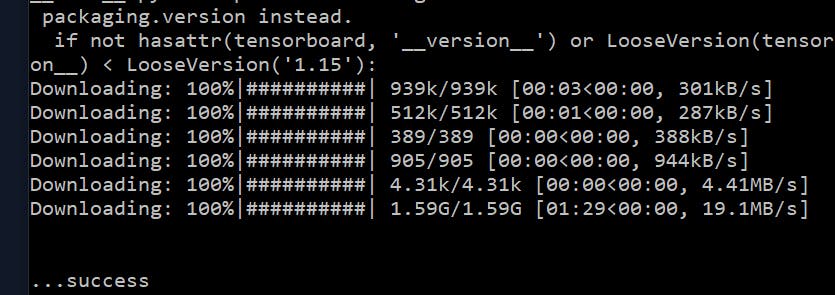
Loading the checkpoint file
- This is a necessary pre-requisite if you get the below error while trying to run the dream script...
super(_open_file, self).__init__(open(name, mode))
FileNotFoundError: [Errno 2] No such file or directory: 'models/ldm/stable-diffusion-v1/model.ckpt'
- rename the 4GB checkpoint file to
model.ckpt - copy that file into the stable-diffusion cloned repo at
stable-diffusion-main\models\ldm\stable-diffusion-v1\model.ckpt
LiftOff 🚀
- You should be all set to run the dream script now ✨
python scripts/dream.py - This should give you a repl with which you can give any prompt and it would generate an image!
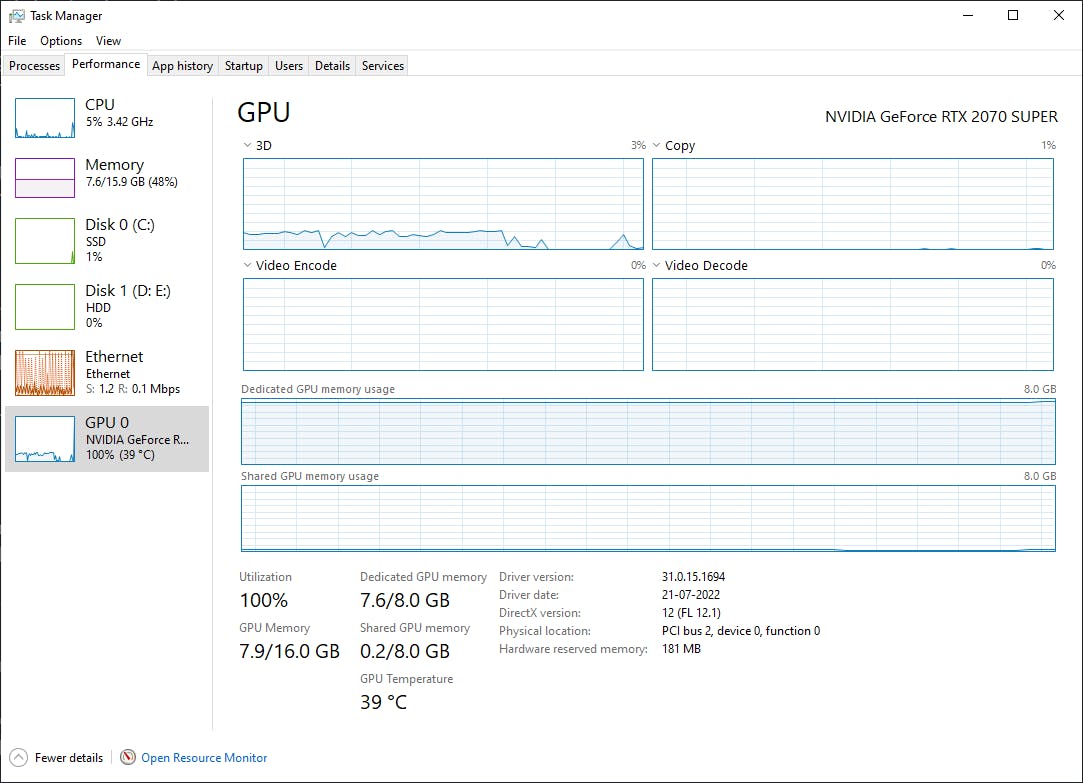
- It takes a maximum of 15 seconds to generate a single image for me in RTX 2070 Super, it can vary depending on the GPU and size of image.
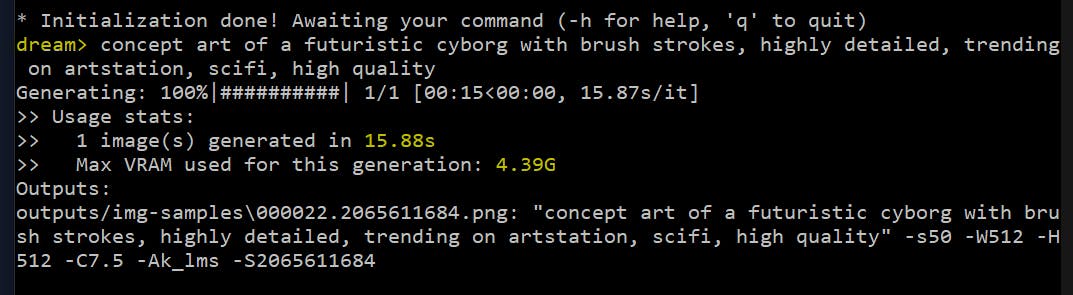
- Monitor your GPU after running the script, the script should've used almost 95% of your GPU's VRAM 🥵🥵
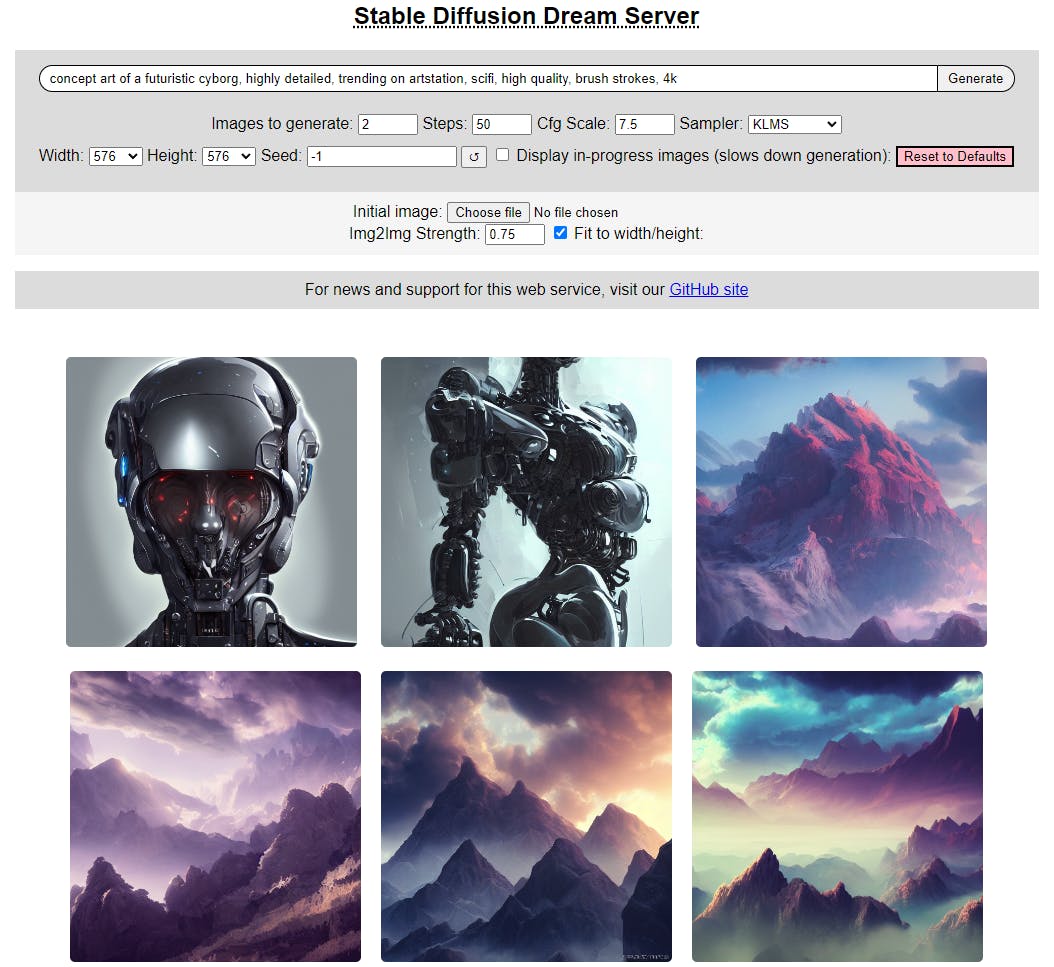
If you are not a big fan of the CLI, you can use the web GUI, and start the dream server by running
python3 scripts/dream.py --web
navigate to http://localhost:9090/ and input anything! your creativity is your limit. To get some inspiration, you can visit lexica.art to get some prompt ideas.
🍎 for M1 and M2 users, the steps should be kind of the same with some modifications, you can follow the walkthrough here or here
if you manage to get it working, comment down below with your prompts 🌻
✍ blog written in wrighter and published on hashnode.
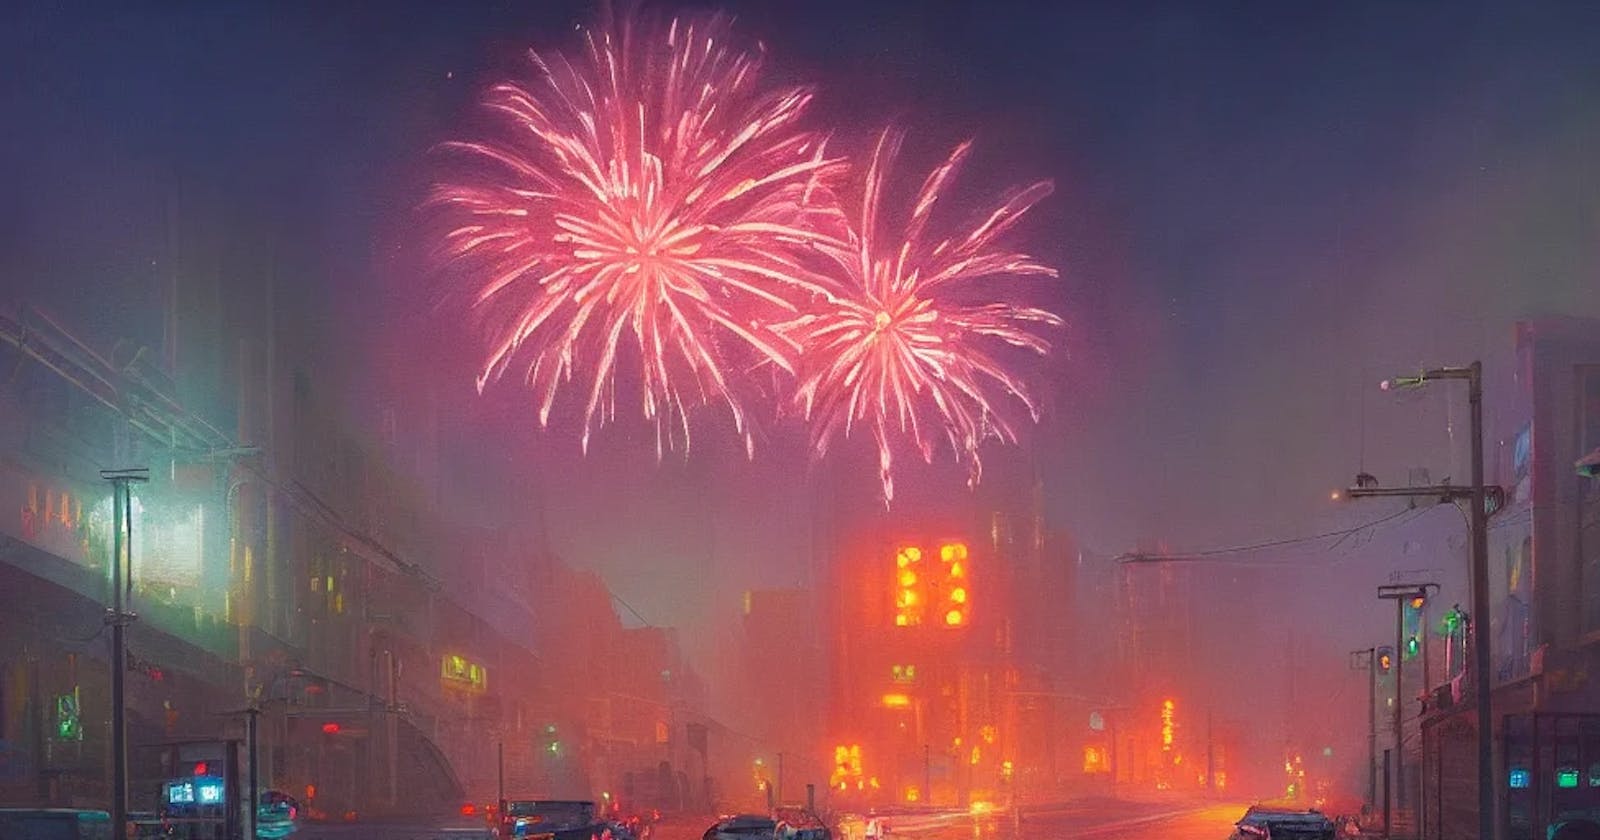
🎁 blog cover image credits - lexica.art